


Introduction
Redis is a distributed open source in-memory, key-value data store which provides high throughput data access unlike traditional databases. Redis now can be used in several use cases like caching, sessions management, leaderboards, and chat/messaging.
Don't ask why, I was thinking about hosting multiple Redis servers on the same host. I had some struggles to do so, but luckily it was easy to do in the end. After searching I found that a lot of users on Stack Overflow and other communities recommend this approach over having multiple databases in the same instance. Each of them has its own advantages and disadvantages, but in the end, it depends your use case.
What's going on?
According to a business use case I am working on, I was looking for an approach to split multiple cache stores from each other. I thought first about creating multiple databases on the same Redis instance in order to split session management from cached queries, but I found it might be more painful because of switching databases and monitoring both of them as well. In addition that I will not be able to run parallel queries if I needed to since Redis is mainly single threaded.
At the end of this tutorial, you should be able to do the following:
- Set up two different Redis instances on the same host using different ports
- Insert data in both Redis instances.
Prerequisites
To complete this tutorial, you should be familiar with Node.js, Redis, WSL. I am going to use multiple Ubuntu 18.04 LTS terminals which represent the number of Redis instances. In addition to having a development environment for Node.js setup. We are going to use Redis-Commander for viewing and managing our data.
You can check out the following tutorial for enabling WSL. Also, you can check this crash course if you haven't used Redis before.
As the author of this tutorial once said:
" I actually haven't tried this approach on other operating systems like MacOS or Linux, so I am not sure if it works or not. Also, I am not sure if this approach can even work on production or containerized environments, or if it is even a right approach in the first place. Now you are wondering why did I even try it or write about it? Well, I don't know I thought that someone may need it one day. "
Step 1 - Setting up the project
Let's start with setting up a project for our tutorial.
First, run the following command to setup a new project
npm init -y
Then, install the required dependencies.
npm install redis@3.0.2 --save
Create a new file named index.js in your project which we will run.
echo "" >> index.js
Step 2 - Working with Redis
Now in order to setup multiple Redis instances, we must declare and work corresponding clients. For this tutorial, we will create userClient.js and companyClient.js where each of them represent a single instance.
Now run the following commands in your terminal in order to create companyClient.js and userClient.js files in your directory.
echo "" >> companyClient.js
echo "" >> userClient.js
Open userClient.js and and create a userClient to connect with the user client instance.
const redis = require('redis');
const userClient = redis.createClient();
userClient.on('connect', function () {
    console.log('User Client Connected!');
});
As you know Redis by default will use the 127.0.0.1 and 6379 as the host and port number respectively. Thus since we are creating several instances on the same server, we need to make sure that we have different port numbers for each instance.
Now suppose we will use port number 6380 for userClient.js and port number 6378 for companyClient.js.
So userClient.js must look like this
const redis = require('redis');
const userClient = redis.createClient({
        port: 6380,
        host: '127.0.0.1'
});
userClient.on('connect', function () {
    console.log('User Client Connected!');
});

module.exports= userClient;
Add the following code snippet to companyClient.js
const redis = require('redis');
const companyClient = redis.createClient({
        port: 6378,
        host: '127.0.0.1'
});
companyClient.on('connect', function () {
    console.log('Company Client Connected!');
});

module.exports=companyClient ;
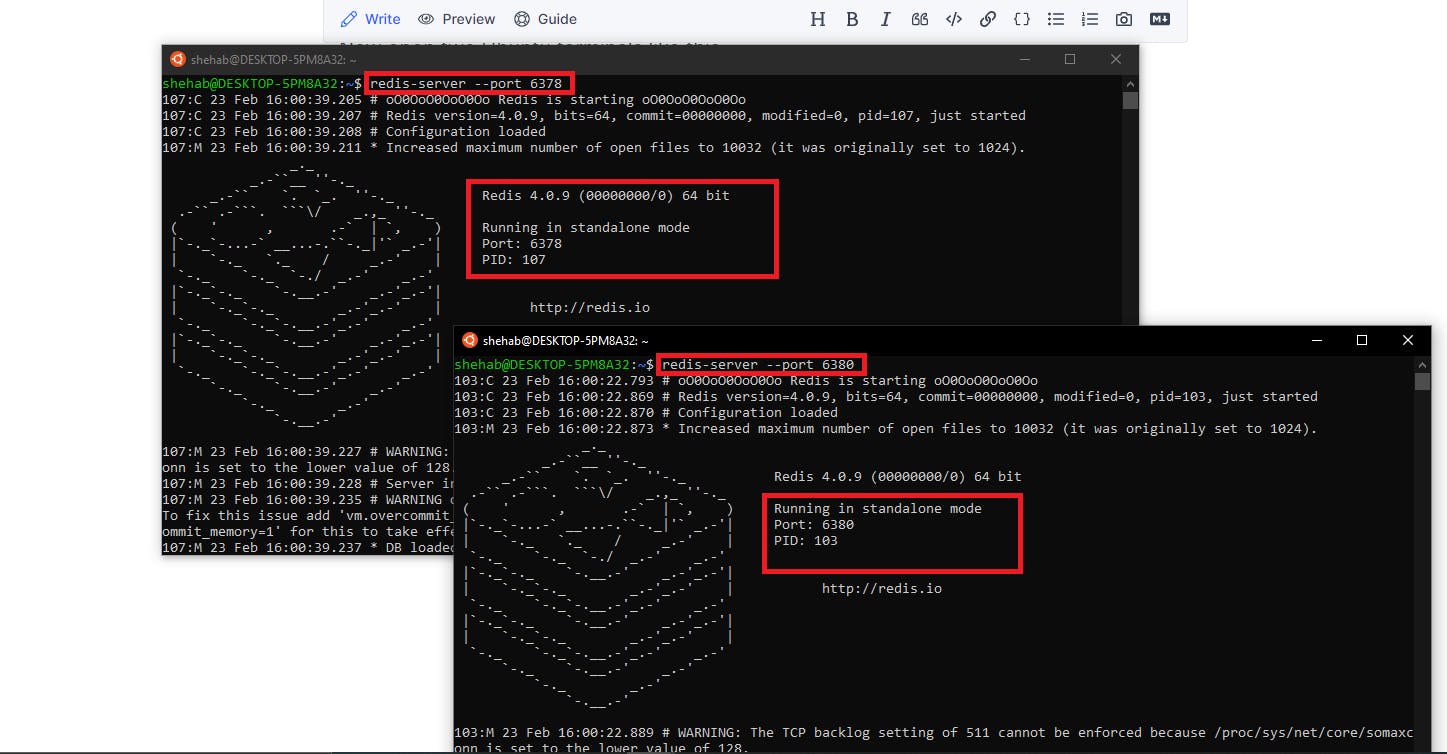
Now open two Ubuntu terminals like this

We need to run two different Redis servers with different ports each of them in an Ubuntu terminal.
In order to run redis-server on a different port write the following
redis-server --port <portnumber>
So, it is going to look like this.
redis-server --port 6380
redis-server --port 6378
Our Redis servers are up and running. Now open index.js and type the following code snippet
const userClient = require('./userClient')
const companyClient= require('./companyClient')


companyClient.set("Basebook","Leta")
companyClient.set("Zacksapp","Leta")

userClient.set("Zark Muckerberg", "Leta")
userClient.set("Shehab","(this is an easter egg)")
Now we are ready to run our Node.js application. Just type the following command in the terminal
node index.js
Initially, there should be an output like this

Now we are going to install redis-commander to access our Redis instances in a web user interface.
Write the following command in your cmd
npm install -g redis-commander
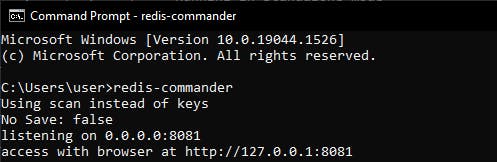
Then write the following command to run redis-commander and take the output URL and open it in your browser
redis-commander
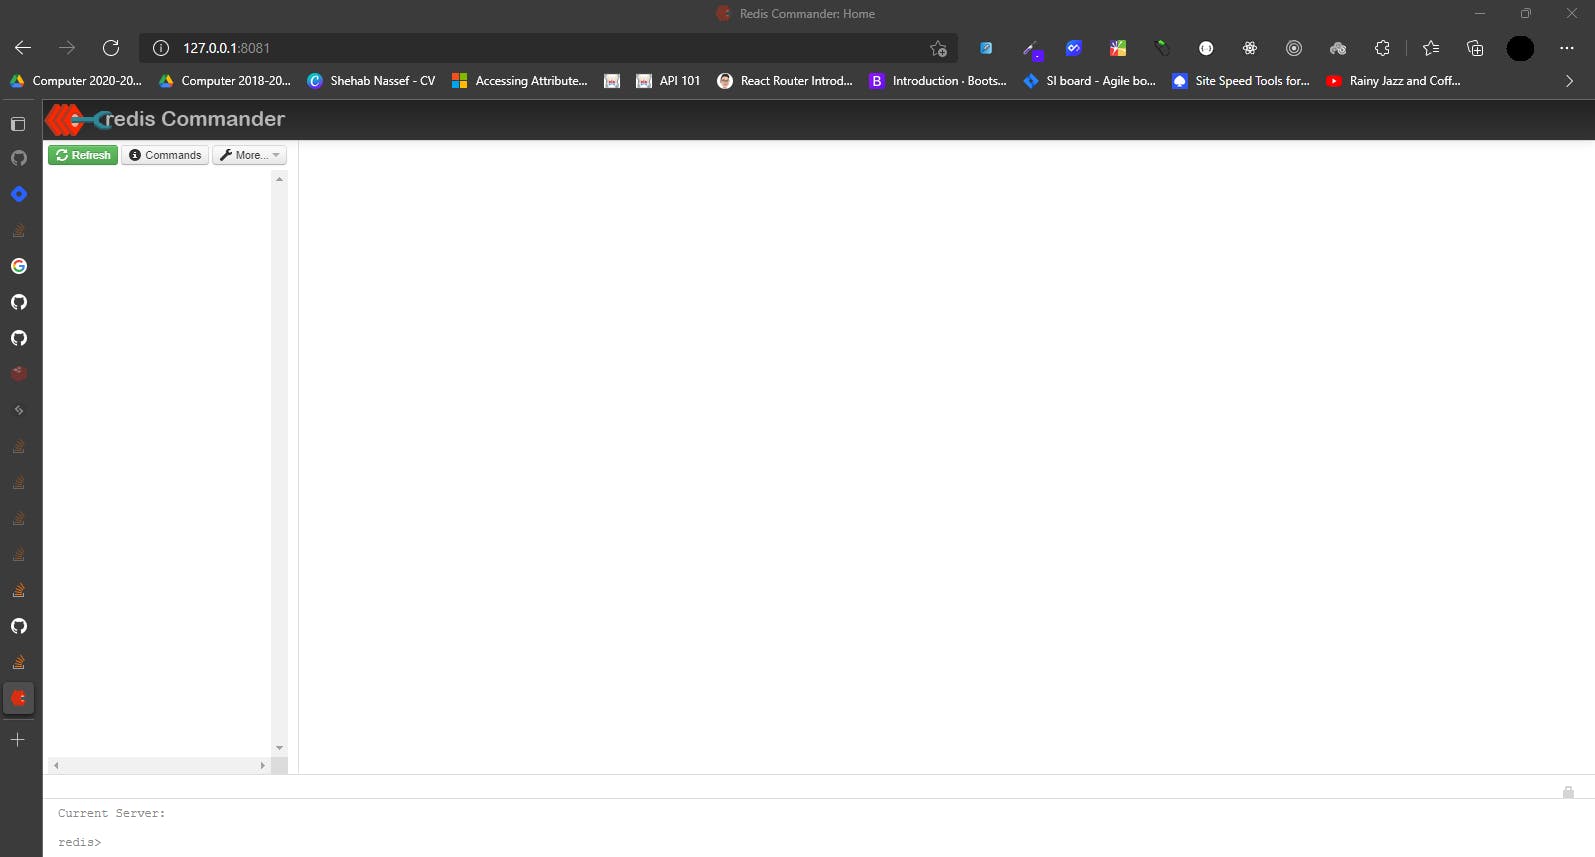
The web page should look like this
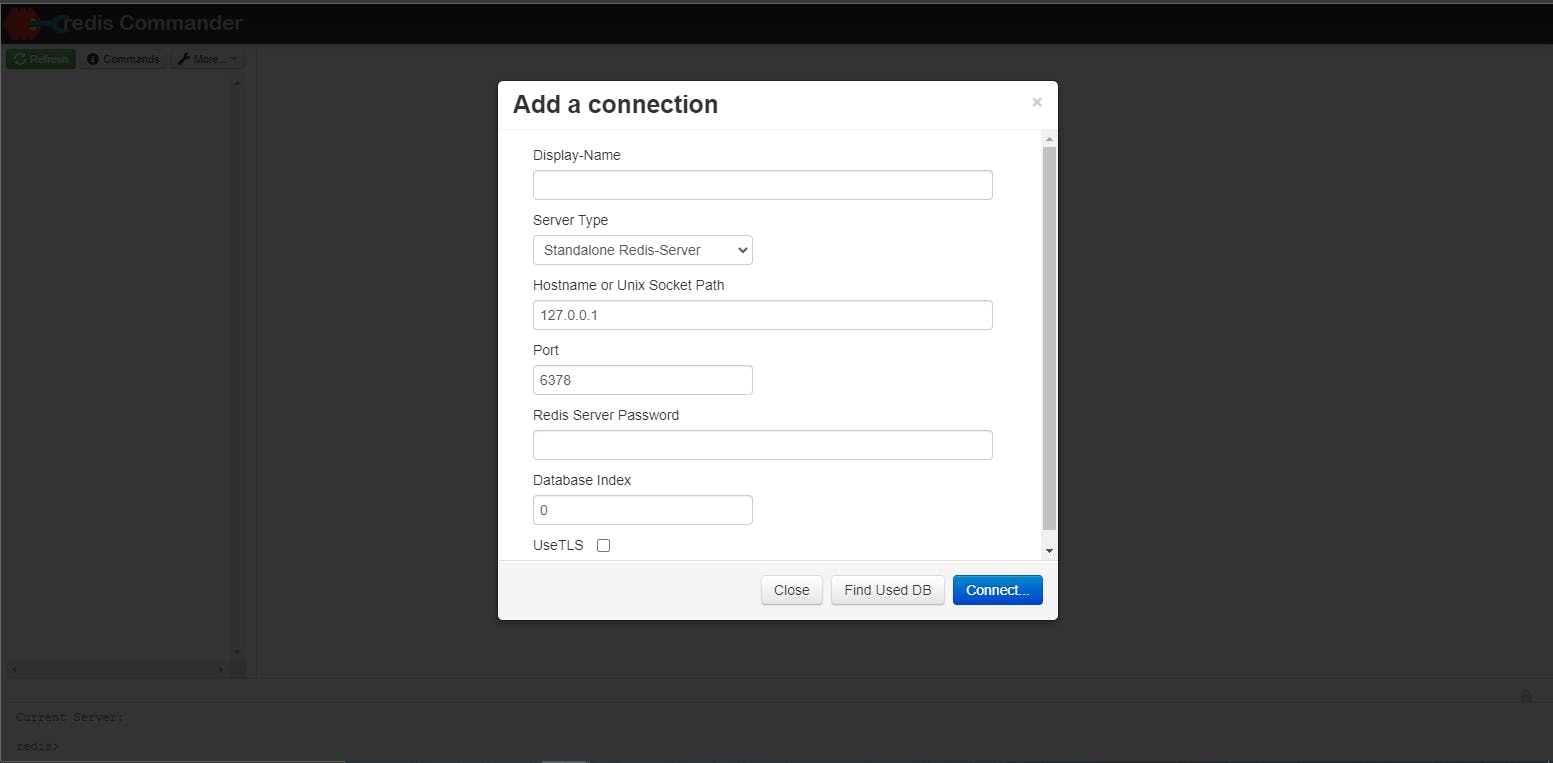
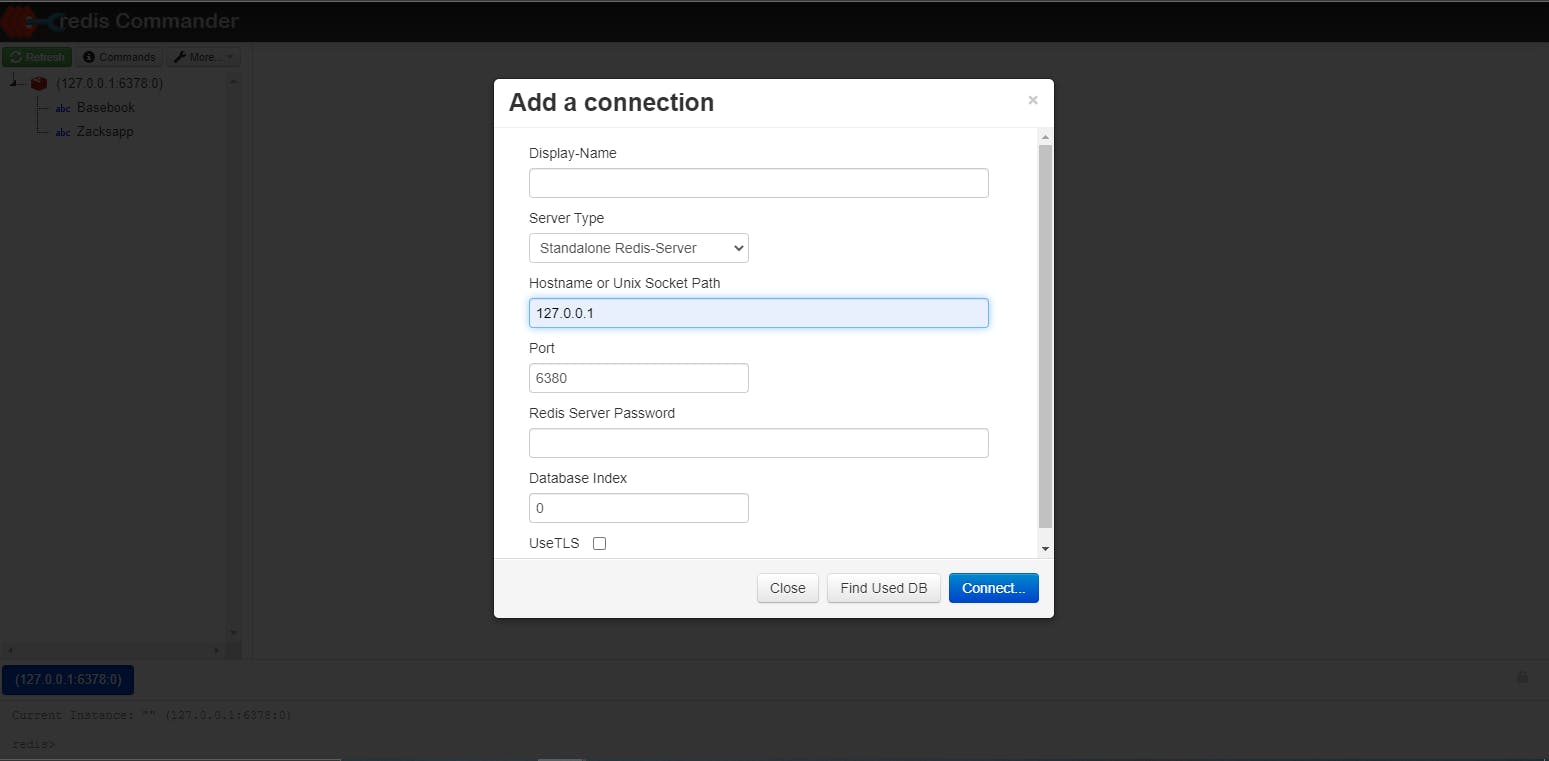
Now press on More, then press Add server. Type in whatever you like or leave it blank in Display-Name field, type 127.0.0.1 in host field, and type 6378 in port field. Repeat these steps but with 6380 in port field
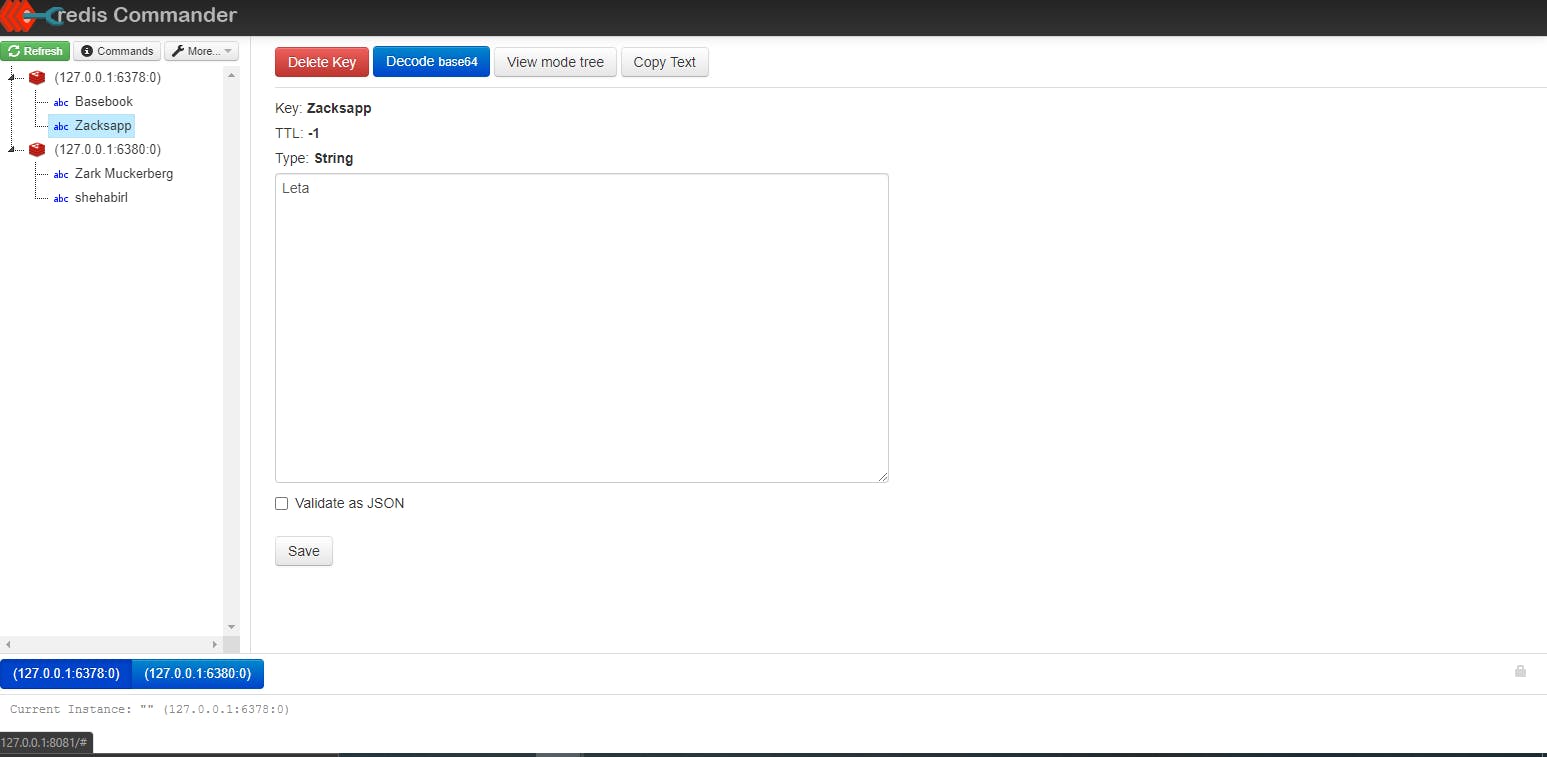
Finally, you can see our keys and their corresponding values inside on the left.
Conclusion
In this tutorial, we managed to work with two Redis instances on the same host using different ports. After searching and asking, I realized that my use-case can be implemented normally on a single Redis instance and there is no need for working with multiple instances on the same server, which I guess it is a better and less complex approach. But it all depends on your use-case.
For a complete code sample of this tutorial, check out the Redis-Multiple-Instances repository on GitHub.